When your toilet handle stops working, it’s remarkable how quickly a small piece of hardware can disrupt your day. You press, it flops, nothing happens, and suddenly you’re left wondering what to do next.
Fortunately, replacing a toilet tank lever is one of the easiest plumbing fixes out there — no plumber or magic wand required. Just a few tools, 20–30 minutes, and a can-do attitude (plus maybe some gloves if you’re squeamish about tank water).
This step-by-step guide will help you pick the right parts, install the new lever, and avoid common mistakes.
What You’ll Need
Gather your supplies before you start; nothing kills DIY momentum faster than an emergency trip to the hardware store.
Tools:
- Adjustable wrench or pliers
- Screwdriver (flathead or Phillips)
- Flashlight or phone light
- Towel or rag (for drips)
Materials:
- New toilet tank lever (make sure it fits your model)
- Plumber’s grease or silicone lubricant (optional but helpful)
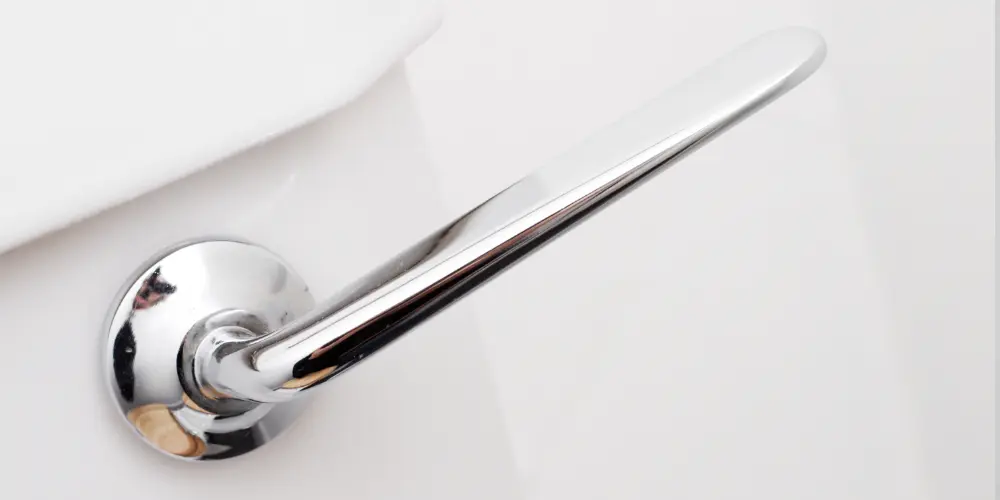
Choosing the Right Replacement Lever
Not all toilet handles are the same. They differ by:
- Mount style: Front-mount, side-mount, or angle-mount
- Thread direction: Right-hand or left-hand threads
- Arm length: Short, medium, or long (so it reaches the flapper)
- Material: Plastic, metal, or chrome
Tip: Take a photo of your current lever or bring the old one to the hardware store to find a replacement that matches it.
Now it’s time to roll up your sleeves and get going!
Step 1: Turn Off the Water Supply
Locate the shut-off valve behind your toilet and twist it clockwise until it stops. Then flush to drain most of the tank water. Don’t worry if a little remains—this is clean water from the tank, not the bowl.
Step 2: Remove the Toilet Tank Lid
Lift the lid straight up and set it on a flat, soft surface such as a towel. Porcelain toilet lids are heavy and fragile. Drop one, and you’re suddenly shopping for a replacement tank lid instead of a lever.
Step 3: Disconnect the Chain or Wire
Inside the tank, you’ll see a small chain or wire linking the lever arm to the flapper. Gently unhook it. Note which hole it was attached to: your new lever will need to go in the same spot to flush properly.
Step 4: Remove the Old Lever
Here’s where it gets a little tricky: the big mounting nut inside the tank is usually reverse-threaded. That means you loosen it by turning clockwise (opposite of how you typically turn to loosen a nut).
Hold the handle steady outside the tank, then loosen the nut with your wrench. If it’s stuck, add a bit of penetrating oil and let it sit. Be patient—forcing it can crack the porcelain tank, and that’s a whole other level of disaster.
Step 5: Install the New Lever
Slide the new lever through the hole from the outside so the threaded part juts into the tank. Hand-tighten the nut (remember, turn it counterclockwise this time), then tighten it gently with your wrench. It should feel firm but still move smoothly, like a good handshake, not an arm wrestling match.
Step 6: Reconnect and Test
Reattach the chain to the same hole as before, leaving about half an inch of slack. If the chain is too tight, the flapper won’t close; if it’s too loose, it won’t lift.
Turn the water supply back on, let the tank fill, and test a few flushes. If everything sounds and feels right, congratulations—you just handled your handle problem!
Troubleshooting Common Issues
Handle feels loose: Tighten the nut (reverse threads, remember).
Toilet won’t fully flush: Adjust the chain length.
Water keeps running: Check that the flapper is sealing, and the chain isn’t too tight.
When to Call a Pro
You might need to bring in a pro if:
- The tank or handle mount is cracked
- You notice leaks or water damage
- You discover other worn parts (like the flapper or fill valve)
- You’d just rather leave plumbing to the professionals.
Maintenance Tips
To keep your new lever working smoothly:
- Wipe it down monthly with mild soap and water
- Check for looseness every few months
- Lubricate the pivot once a year
- Replace the chain if it is rusty or corroded
The Bottom Line
Replacing a toilet tank lever isn’t glamorous, but it may give you a feeling of accomplishment. You’ll save money and time by not waiting for a plumber, and you won’t need to share a bathroom anymore.
FAQs: Replacing a Toilet Tank Lever
Q: How long will a new lever last?
Typically 5–10 years, depending on the quality and frequency of use. (More flushes = more wear.)
Q: Can I use any lever as a replacement?
No. You need one that matches your toilet’s mounting style and thread direction.
Q: Why does my handle stick after I replaced it?
It may be overtightened, or debris is gumming up the pivot. Loosen the nut a little and clean it.
Q: The nut won’t come loose—now what?
Try penetrating oil and wait 15–20 minutes. If it’s still stuck, it may be time to call a plumber.
Q: Should the chain be tight or loose?
Slightly loose, about half an inch of slack.
Q: Can I replace just the handle?
Some models allow it, but most require swapping the whole lever assembly.
Q: What’s up with left-hand threads?
Most levers use reverse threads, so “righty-tighty, lefty-loosey” doesn’t apply here. It’s “backward-tighty, forward-loosey.”
Q: Front-mount or side-mount—how do I tell?
Look at the handle’s position. Front mount faces you; side mount sits on the left or right edge of the tank.
