You smell a gas leak in your home. So you’ll call the plumber tomorrow, right? Wrong!
Gas leaks demand immediate action. Similarly, a water pipe leak needs timely repair. A water leak may not kill you, but it can do a world of damage when that pinhole leak goes from trickle to torrent.
You can patch that pinhole leak with Flex TAPE, like Phil Swift on late-night TV, but you’ll want a substantial repair in the long term.
In this blog, we’ll cover the simpler PVC pipe repairs you may be able to manage DIY.
Identifying the Leak
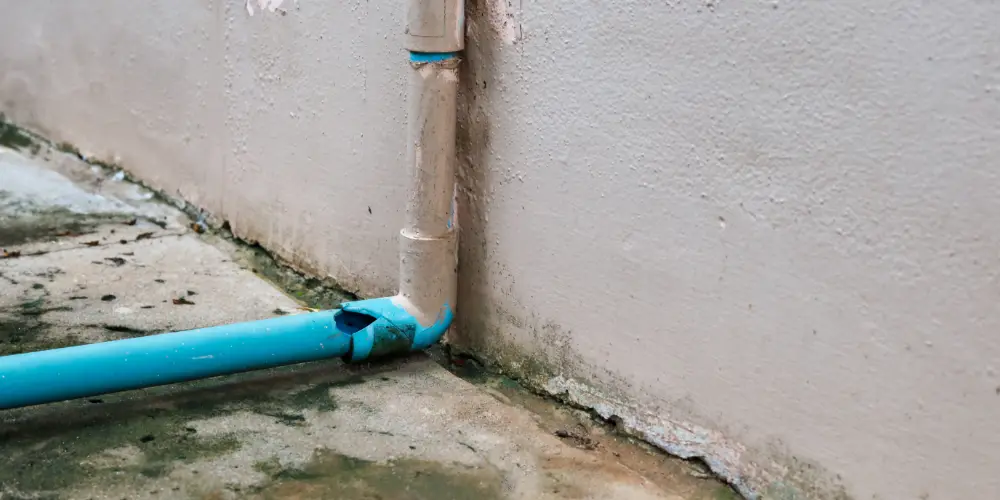
Old pipes are the primary cause of water leaks. But even newer PVC pipes and joints can fail if poorly installed, compromised by impact or shifting soil, or ruptured by tree root invasion.
In cases where the leak isn’t apparent — but you know it’s happening somewhere — follow these steps to pinpoint its location:
- Use a towel to dry the surface of the pipe.
- Inspect the pipe along its entire length, looking for any signs of damage, such as cracks or breaks.
- If you can’t find visible signs of damage, run your hand along the pipe to feel for wet spots or areas that seem softer than others.
- Use a small piece of tissue or toilet paper to dab along the pipe. The tissue will stick to any moisture and help you identify the exact location of the leak.
Tools & Materials You’ll Need
Tools
- Pipe cutter or hacksaw
- Rubber gloves and safety goggles
- Clean rag or towel
Materials
- Sandpaper or emery cloth
- PVC primer
- PVC cement
- Patching material (can be a piece of rubber or flexible PVC)
- Pipe connectors
Simple Repairs: Patching the Leak
- Turn off the water supply to the affected pipe.
- Use sandpaper to smooth any rough edges around the leak area.
- Apply PVC primer to the pipe and patching material according to the manufacturer’s instructions.
- After allowing the primer to dry, apply PVC cement to both surfaces in a thin, even layer.
- Carefully place the patch over the leak and smooth out any wrinkles or air bubbles.
- Use a clean rag or towel to remove any excess PVC cement that squeezes out from under the patch.
- Allow the patch to dry completely before turning the water supply back on and testing for leaks.
Advanced Repairs: Replacing a Section of PVC Pipe
Sometimes, a section of the PVC pipe must be replaced. This process is more complex than simple patching but can be managed by a dedicated DIYer with the right tools:
- Turn off the water supply to the affected pipe.
- Use a marker to outline the damaged section that needs to be removed. Measure the length of the section being removed.
- Use a pipe cutter or a hacksaw to cut the pipe on either side of the damaged area. Cut straight and clean to avoid complications when fitting the replacement piece.
- Cut a new piece of PVC pipe to match the section length you removed. Sand the edges of the new pipe to remove burrs or rough spots.
- Before applying cement or primer, dry-fit the new pipe segment and connectors (couplings) to ensure everything aligns correctly.
- Apply PVC primer to the ends of the existing pipe and the corresponding ends of the replacement pipe. Allow the primer to dry. Then, apply PVC cement to the primed areas of the existing and replacement pipes.
- Quickly fit the replacement pipe into the primed and cemented connectors. Align it properly and hold the pipe in place for a few seconds to allow the cement to set.
- Wipe away excess cement with a clean rag.
- Allow the cement to cure completely, following the drying time recommended by the cement manufacturer.
- Turn the water supply on and carefully inspect the replacement section for leaks. If you find any, turn off the water supply, dry the area, and reapply PVC cement as necessary.
Preventative Maintenance
Preventing PVC pipe leaks before they start can save you from potentially expensive emergency repairs.
- Periodically check exposed pipes for wear or damage, especially at joints and connections.
- Check your home’s water pressure. Excessive pressure can stress pipes and lead to leaks.
- If installing new PVC pipes, ensure they’re fitted correctly and secured according to the manufacturer’s guidelines.
- In regions prone to freezing temperatures, use pipe insulation to protect against bursting.
- Harsh chemicals can weaken PVC pipes over time. Instead, use natural or mechanical methods to clear clogs.
- Be mindful of planting trees or shrubs near your plumbing lines to prevent root invasion.
Signs of Potential Leaks
Watch for these early indicators of a leak:
- Water Stains: Discoloration on ceilings, walls, or floors.
- Increased Water Bills: A sudden spike in your water bill without a corresponding increase in use.
- Mold or Mildew: Persistent dampness encourages mold and mildew growth near the leak.
- Musty Odor: A damp or musty smell can be an early indicator of a hidden leak (and mold infestation).
- Pooling Water: Unexplained pools of water around your home or yard may suggest a nearby pipe leak.
- Reduced Water Pressure: Leaks in your plumbing system can cause a noticeable drop in water pressure.
Installing a Smart Leak Detector
Water damage is one of the most common and costly problems homeowners face. From burst pipes to leaky appliances, it can wreak havoc on your home and cost thousands of dollars in repairs.
An inline water detector can detect even the tiniest leaks and shut off your water supply before significant damage occurs. We recommend the Moen Flo, one of the best inline home water detectors today.
Flo by Moen is a water security system that uses advanced algorithms to detect even pinhole leaks and drips. It monitors your home’s water supply 24/7, sending usage data and alerts to your phone. In case of a problem, Flo turns off your water supply automatically, so pinhole leaks never have a chance to develop into bigger leaks.
Still Stuck? Call Orange Coast Plumbing
For repairs beyond your confidence level or more extensive tasks, please call us at Orange Coast Plumbing. Jobs you should never attempt DIY include:
- Slab leak repair
- Re-piping or re-routing of water pipes
- Main line repair
- Any task requiring a permit
We have licensed, experienced plumbers on call 24/7, every day of the year, and dispatch locations throughout Orange County. So don’t delay — call us today!
FAQs: Patching PVC Pipes
Q: Can I use Flex TAPE or other quick-fix solutions to patch PVC pipe leaks?
While Flex TAPE and similar products provide a temporary fix, they’re not long-term solutions. It’s best to repair or replace the damaged section of PVC pipe.
Q: Can I use regular duct tape as a patching material?
No, regular duct tape is unsuitable for patching PVC pipes. It won’t adhere well and can easily peel off.
Q: How long does it take for PVC cement to dry and cure?
PVC cement dries in 15–30 minutes and fully cures in 2 hours. However, drying and curing times may vary depending on the brand and conditions.
Q: Can I patch a leak without turning off the water supply?
This can result in further damage or potential injury. Always turn off the water supply before attempting repairs on your plumbing system.
Q: How often should I inspect my pipes for leaks?
Check your pipes for leaks at least once a year, especially if they’re older or exposed to extreme temperatures.
Q: How long will a patched PVC pipe last?
A properly applied patch can last for years, but if you notice frequent leaks or signs of deterioration, it may be time to consider replacing the affected section of pipe.
Q: Can I use any PVC cement?
Use cement designed for PVC pipes. Other types of cement may not create a strong enough bond.
Q: What if I can’t turn off the water supply?
Call a professional plumber if you can’t turn off the water supply to the affected area. Working on a live water line is challenging and messy.
Q: Is there an alternative to cutting the pipe?
A pipe repair clamp or a rubber patch can temporarily fix minor leaks or cracks. However, we recommend cutting and replacing the damaged section for a permanent fix.


